
Guides
Installation
Installation method depends on application, slab thickness, substrate and the chosen fixing system. Large formats need a plan before the slab arrives on site or in the interior.
This guide explains how to prepare for installation, what to check before fixing and where to find detailed manufacturer instructions for floors, walls, facades and worktops.
The final installation system is always defined by the project, with a workshop and installer who work with large-format ceramics.
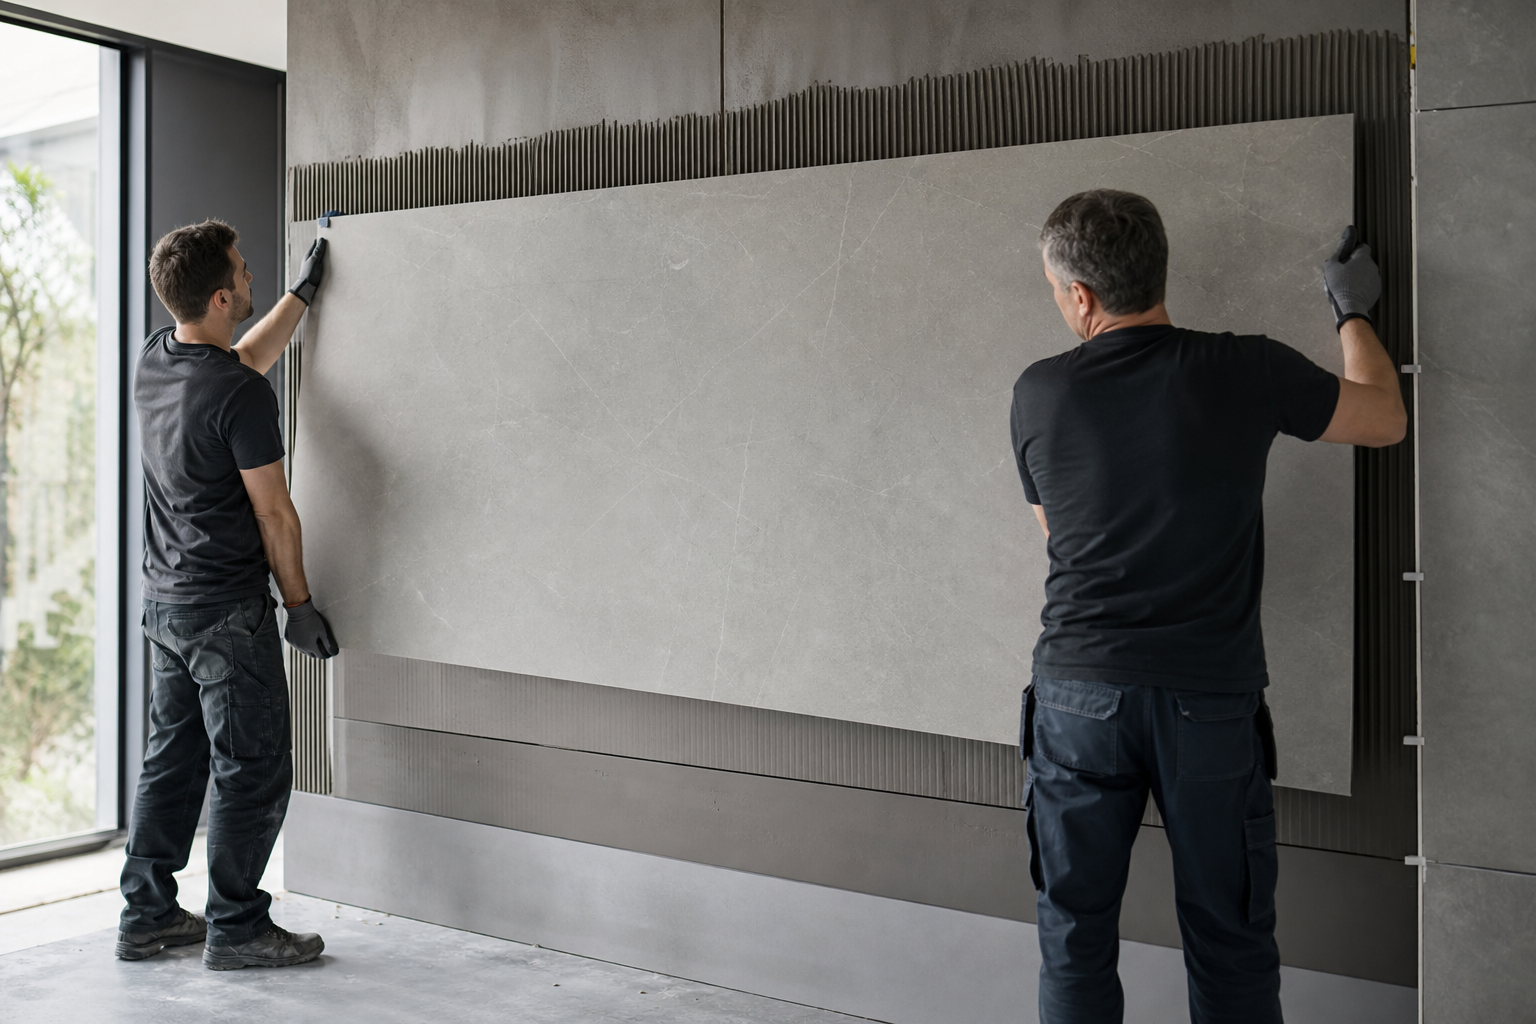
Installation starts before fitting
Before ordering it should be clear where the material is used, in which thickness and format. The workshop prepares the cutting plan, edges and openings before the slab is cut.
Before installation, check access into the building, substrate load capacity, expansion joints and protection of the finish during works.
Cutting, drilling and edge finishing are done before installation. Details are covered in the Cutting and fabrication guide.
What does the path to installation look like?
- Application and thickness
- Cutting and fabrication plan
- Substrate preparation
- Transport and entry
- Installation
- First cleaning
Handling and transport
Laminam slabs are large-format and thin relative to their surface area. Handle them vertically, with full support along the edges, without bending or impact.
For transport use A-frame supports or the manufacturer’s original packaging. Do not drag slabs on the floor or carry them on an edge.
Before bringing pieces into the building, check passage, lift and storage dimensions. Large formats are often moved vertically, with suitable equipment and a team.
Substrate preparation
The substrate must be ready before bonding or fixing slabs. Depending on the application, check:
- Substrate flatness and stability per the manufacturer’s guide for the selected application.
- That the screed is dry and properly prepared, with expansion joints before the floor is installed.
- Room temperature and humidity within the limits set by the adhesive manufacturer.
- That the supporting structure, load-bearing walls or furniture elements provide full support to the slab.
For each substrate type there is a separate chapter in the cladding and flooring guide.
System overview by application
Thickness is chosen by application and checked in the Thickness and applications guide. The table shows typical mounting systems, not finished dimensions.
| Application | Typical system | Note |
|---|---|---|
| Floors | Bonding to screed | Interior and exterior; expansion joints in the floor and in the screed. |
| Wall cladding | Bonding to plaster, gypsum or existing cladding | The substrate must be dry, stable and prepared before bonding. |
| Worktops and washbasin counters | On a furniture element support | Full support around the perimeter and in zones without bearing elements below. |
| Facades | Ventilated system, ETICS or bonding | The facade designer chooses the system; thickness depends on the substructure. |
| Furniture | Bonding or mechanical fixing | Thinner slabs only with suitable structural support. |
| twO by Laminam | Bonding thin slabs | Thicknesses 2 and 2+ mm; special care in handling and bonding. |
Installation by surface type
Floors
Slabs are bonded to a prepared screed with a suitable large-format ceramic adhesive. For wet and outdoor zones, choose a finish with slip resistance R9-R11, confirmed at order. Outdoor floors need a fall for drainage and expansion joints per the project.
Wall cladding
Bonding to plaster, plasterboard or existing ceramic cladding, depending on the wall condition. Joints and expansion joints are defined in the manufacturer guide. twO slabs need more careful handling because of their low thickness.
Worktops
The slab sits on a fully flat, secured furniture element, with support around the perimeter and in zones without bearing parts below. Leave expansion gaps at the wall, sink and hob. Silicone and sealing prevent water and dirt from collecting.
Facades
Ventilated systems, ETICS or direct bonding on a prepared substrate. For AMBIENCE treatments the manufacturer recommends Natural, Bush Hammered and Soft Touch. The IN-SIDE series allows the same material indoors and outdoors, with a check of installation details.
Furniture and twO
Cladding of fronts, doors and furniture elements by bonding or mechanical fixing. twO slabs of 2 and 2+ mm are intended for walls, facades and cladding, not worktops or floors. For curved surfaces see guide twO by Laminam.
Expansion joints and junctions
Expansion joints compensate for temperature changes and prevent stress in the slabs. Before installation, check:
- Expansion joints in the screed before floor installation.
- Perimeter and field expansion joints in floors and walls, per the manufacturer guide.
- Clearances around built-in elements, corners and junctions with other materials.
- Elastic filling of expansion joints on exterior surfaces.
Exact values depend on the application, substrate and slab format. Always follow the manufacturer’s technical guide.
Surface protection during works
The slab finish remains exposed during fitting. Protect it with tape or film when applying silicone, drilling nearby and joining elements.
With Polished, Polished Starlit and Soft Touch it is especially important to avoid scratches and contact with abrasive materials during installation.
After installation
Before first use, remove adhesive, silicone and construction dust residues. On facades, do the first clean while access to the surface is still possible.
Detailed instructions for first and routine maintenance are in the Maintenance guide.
Official documentation
For each mounting system the manufacturer publishes separate instructions. The main installation guides follow.
The full list of PDF documents is also available in the Documentation section.
- Cladding and flooring guide (EN)Primary source: handling, floors, wall cladding, expansion joints and substrate preparation.Sign in to download PDF
- External facades guide (EN)Ventilated facades, substructure, AMBIENCE treatments and fitting details.Sign in to download PDF
- External cladding - cement board (EN)Installing facade cladding on cement board.Sign in to download PDF
- External cladding - ETICS / thermal insulation (EN)Installation on a thermal insulation system.Sign in to download PDF
- External cladding - render (EN)Installation on mortar / render.Sign in to download PDF
- Furniture and design guide (EN)Furniture cladding, tables, doors and interior elements.Sign in to download PDF
- twO by Laminam, technical guide (EN)Ultra-thin 2 and 2+ slabs: installation on walls and facades.Sign in to download PDF
- Cleaning and maintenance guide (EN)Handling, worktop installation and first cleaning after fitting.Sign in to download PDF
FAQ
Installation is carried out by workshops and installers experienced with large-format ceramics.
Laminam Serbia is a distributor and does not cut, fabricate or install.
Before ordering.
Align the cutting plan, bringing pieces into the building, substrate preparation and fixing system with the workshop and installer while choosing material and format.
No.
Thickness affects support method, bonding and joint details. twO slabs of 2 and 2+ mm have specific instructions, different from 5+ or 12+ mm slabs.
Depends on the project.
Ventilated systems, ETICS and direct bonding have different requirements for substrate, thickness and supporting structure. The facade designer defines the choice, with the manufacturer’s guide.
We do not recommend it.
The worktop must have full, even support from the furniture carcass, especially around the sink, hob and free edges.
Overview by application and thickness is in guide Thickness and applications.
Manufacturer PDF guides are available in the Documentation section and in the download list on this page.